Usage
Prerequisites
- You will need a Facebook Developer account
- You will need to have the Magic SDK installed into your web app
- You will need to have the Magic SDK - OAuth Extension installed into your web app
Facebook Setup
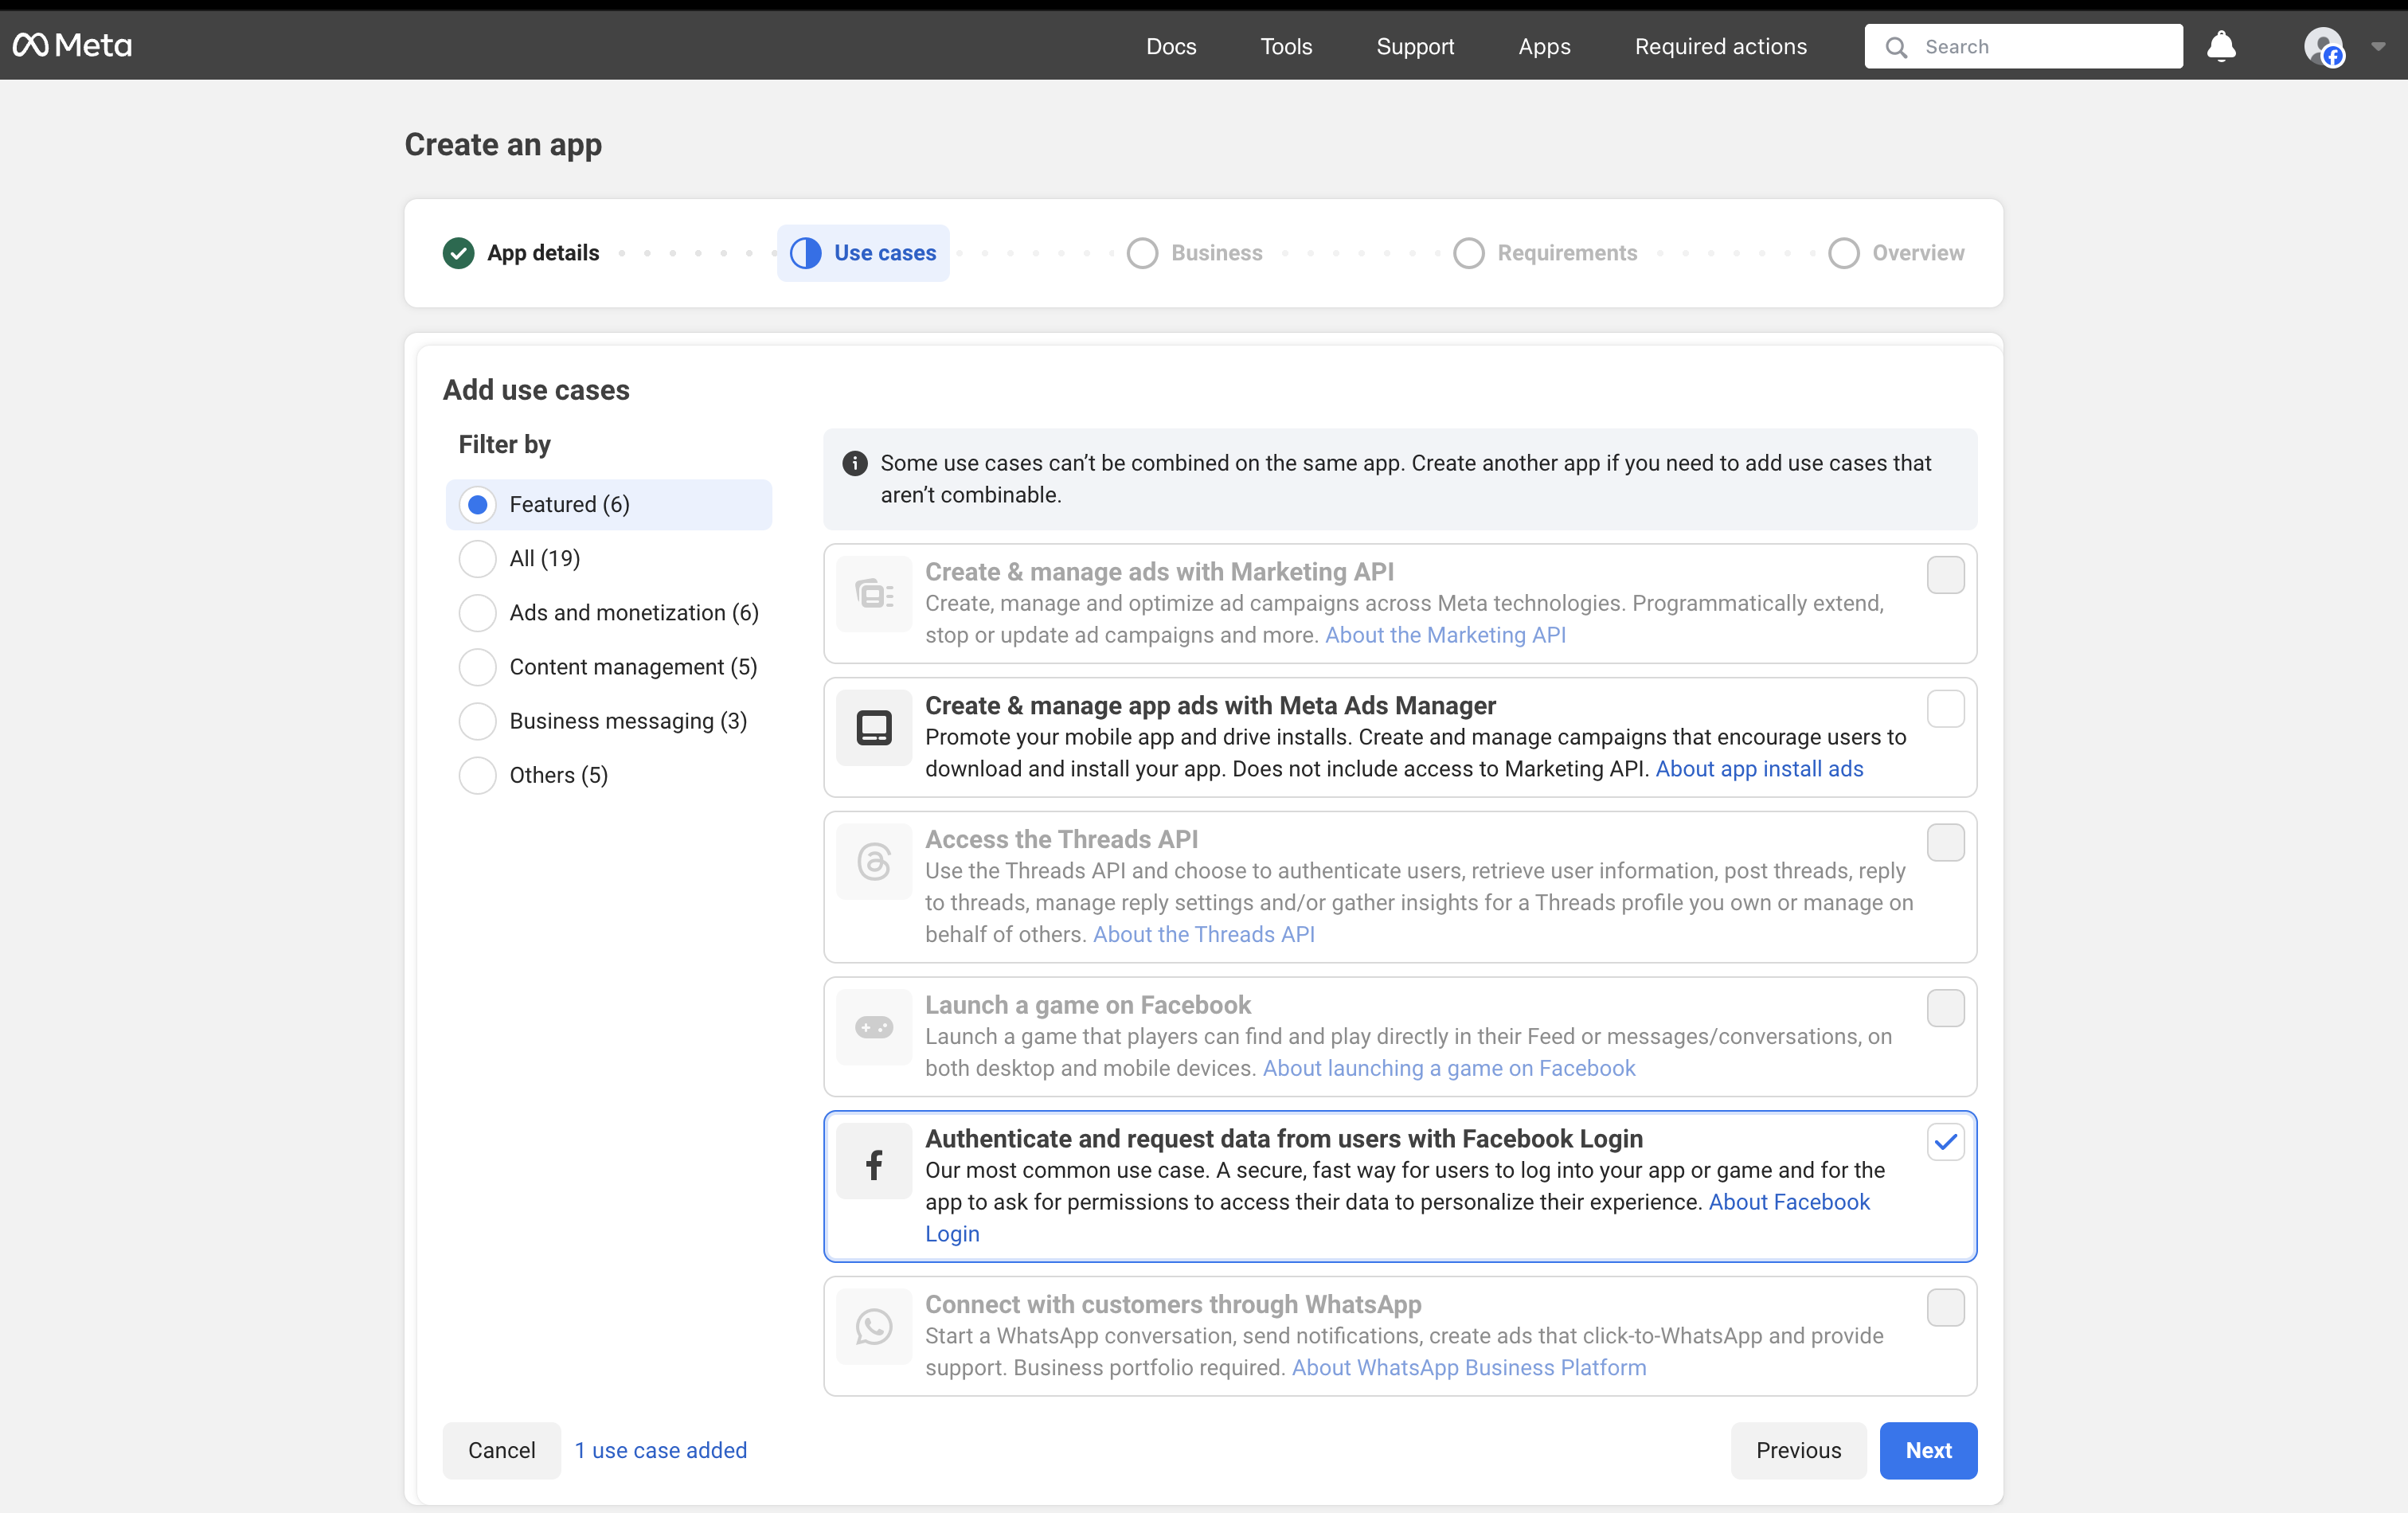
After installing the OAuth extension, you can now enable Facebook Login for your Magic app:- Follow Facebook’s instructions to register a Facebook app
- When creating your Facebook app, select Authenticate and request data from users with Facebook Login, click Next and follow the prompts to add app information
- Complete your Facebook app setup
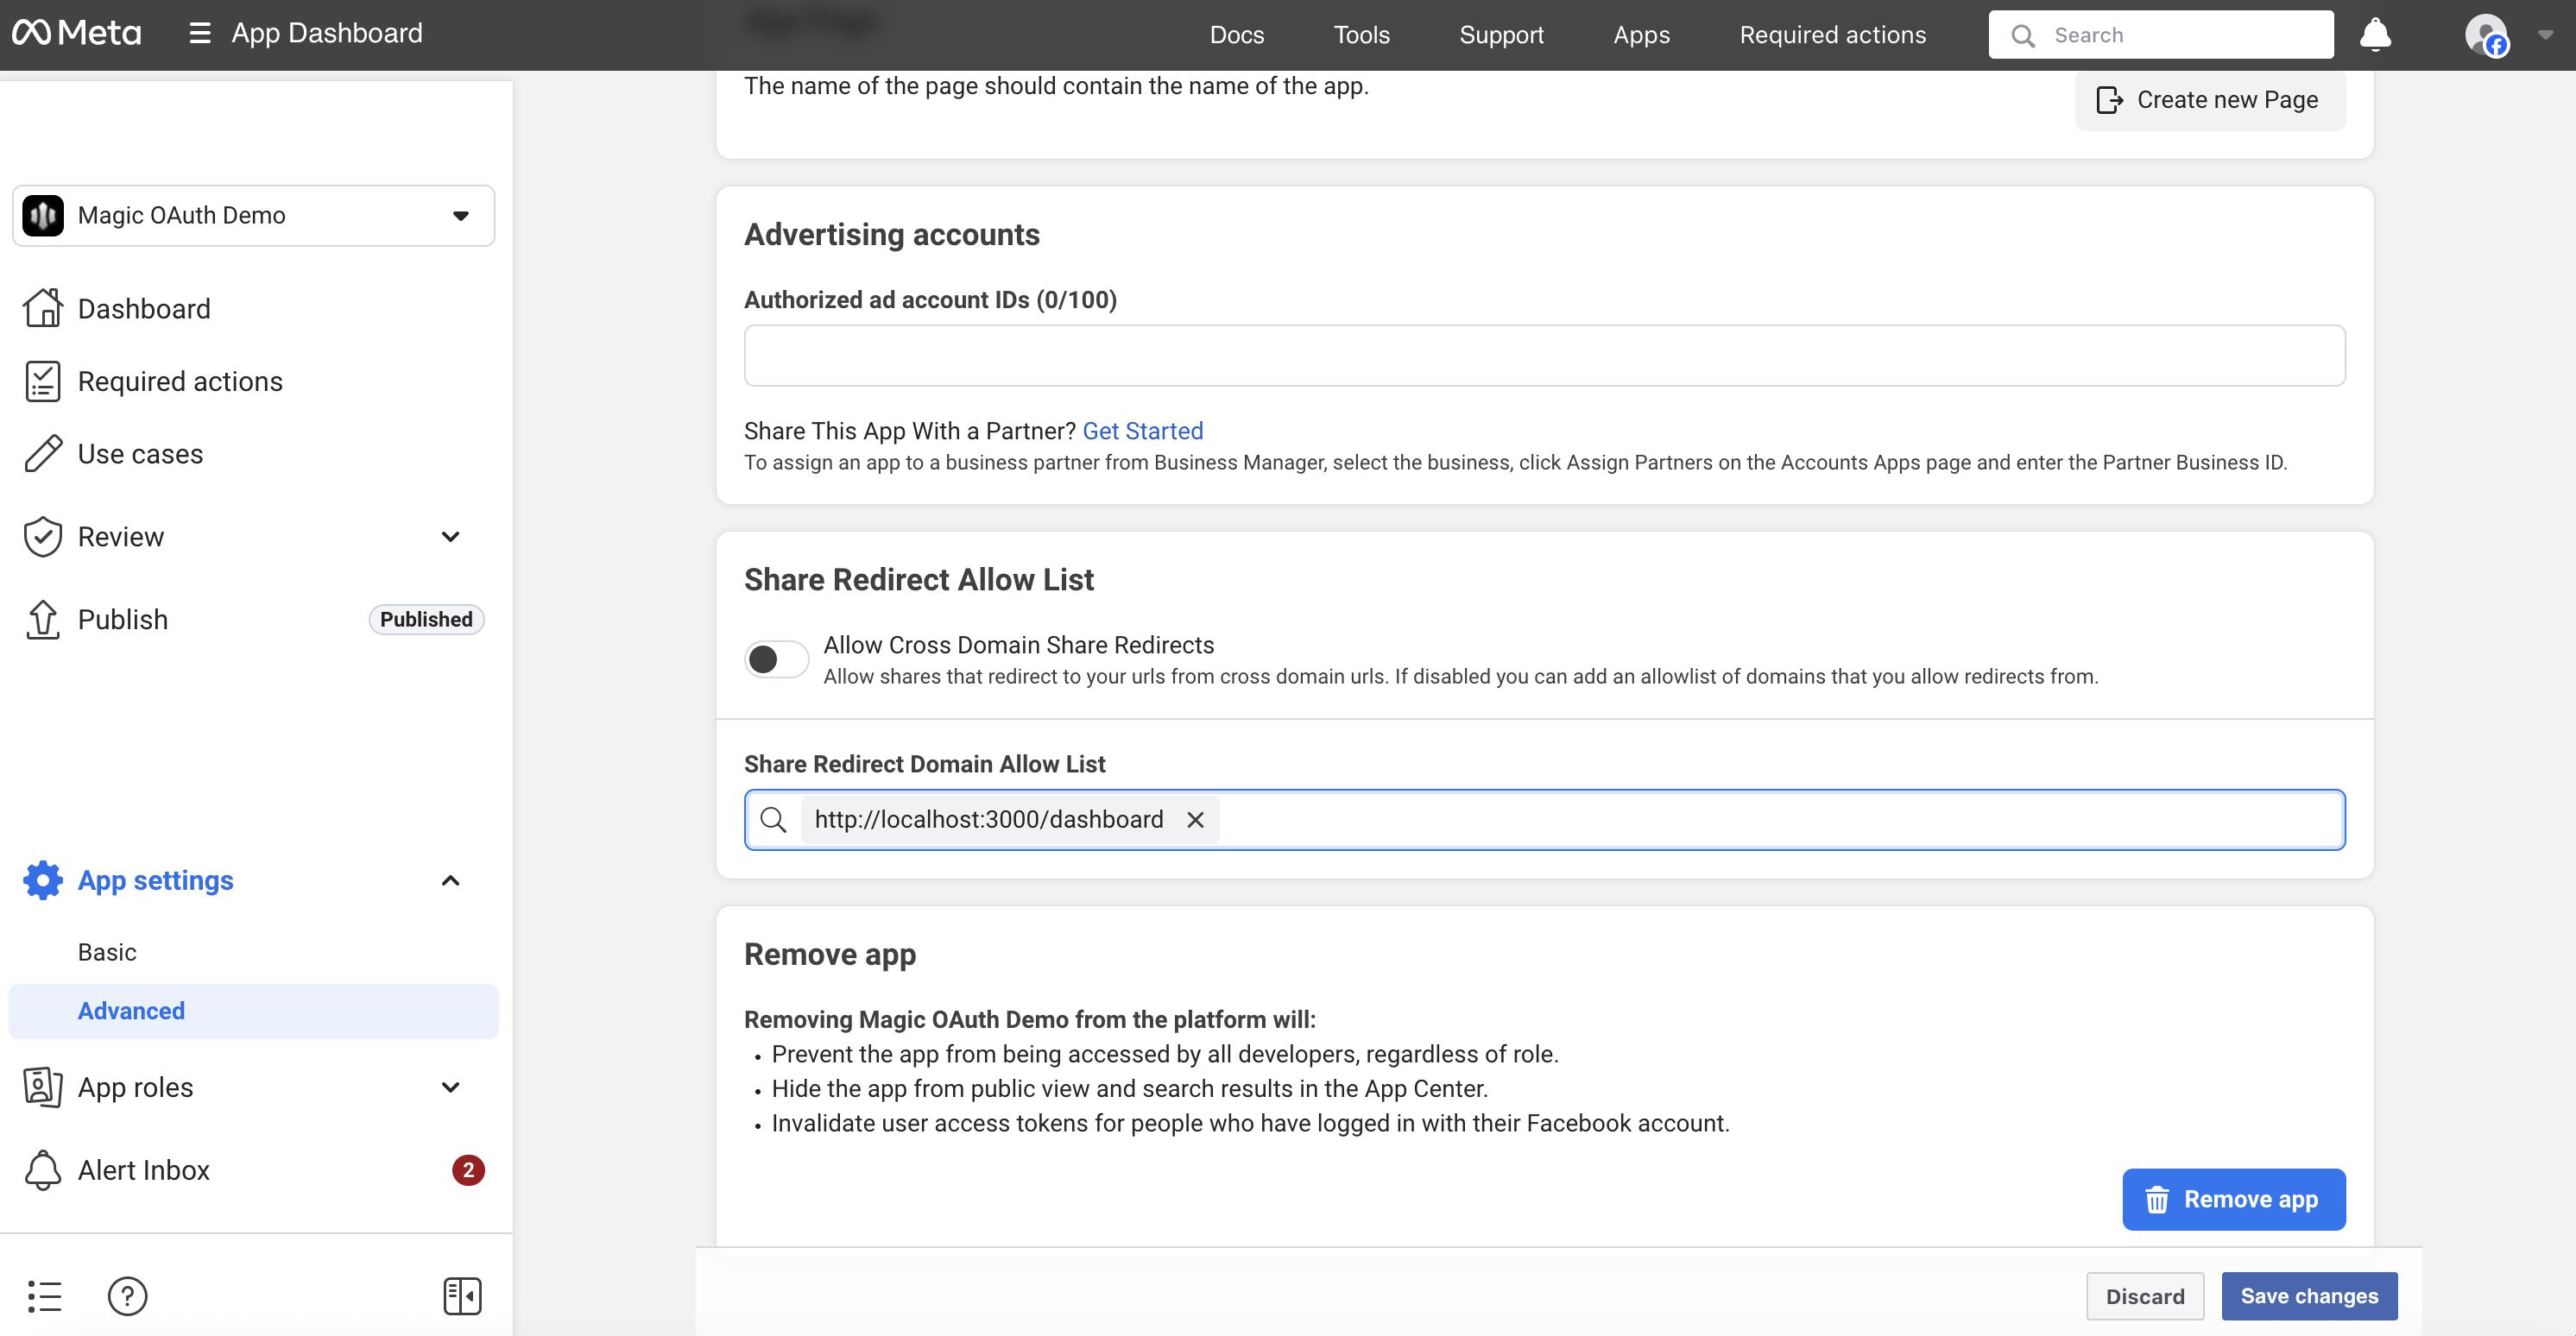
- In your Facebook app’s Advanced Settings page, add your Redirect URI in the Share Redirect Allow List input:
JavaScript
- Save the changes in your Facebook settings
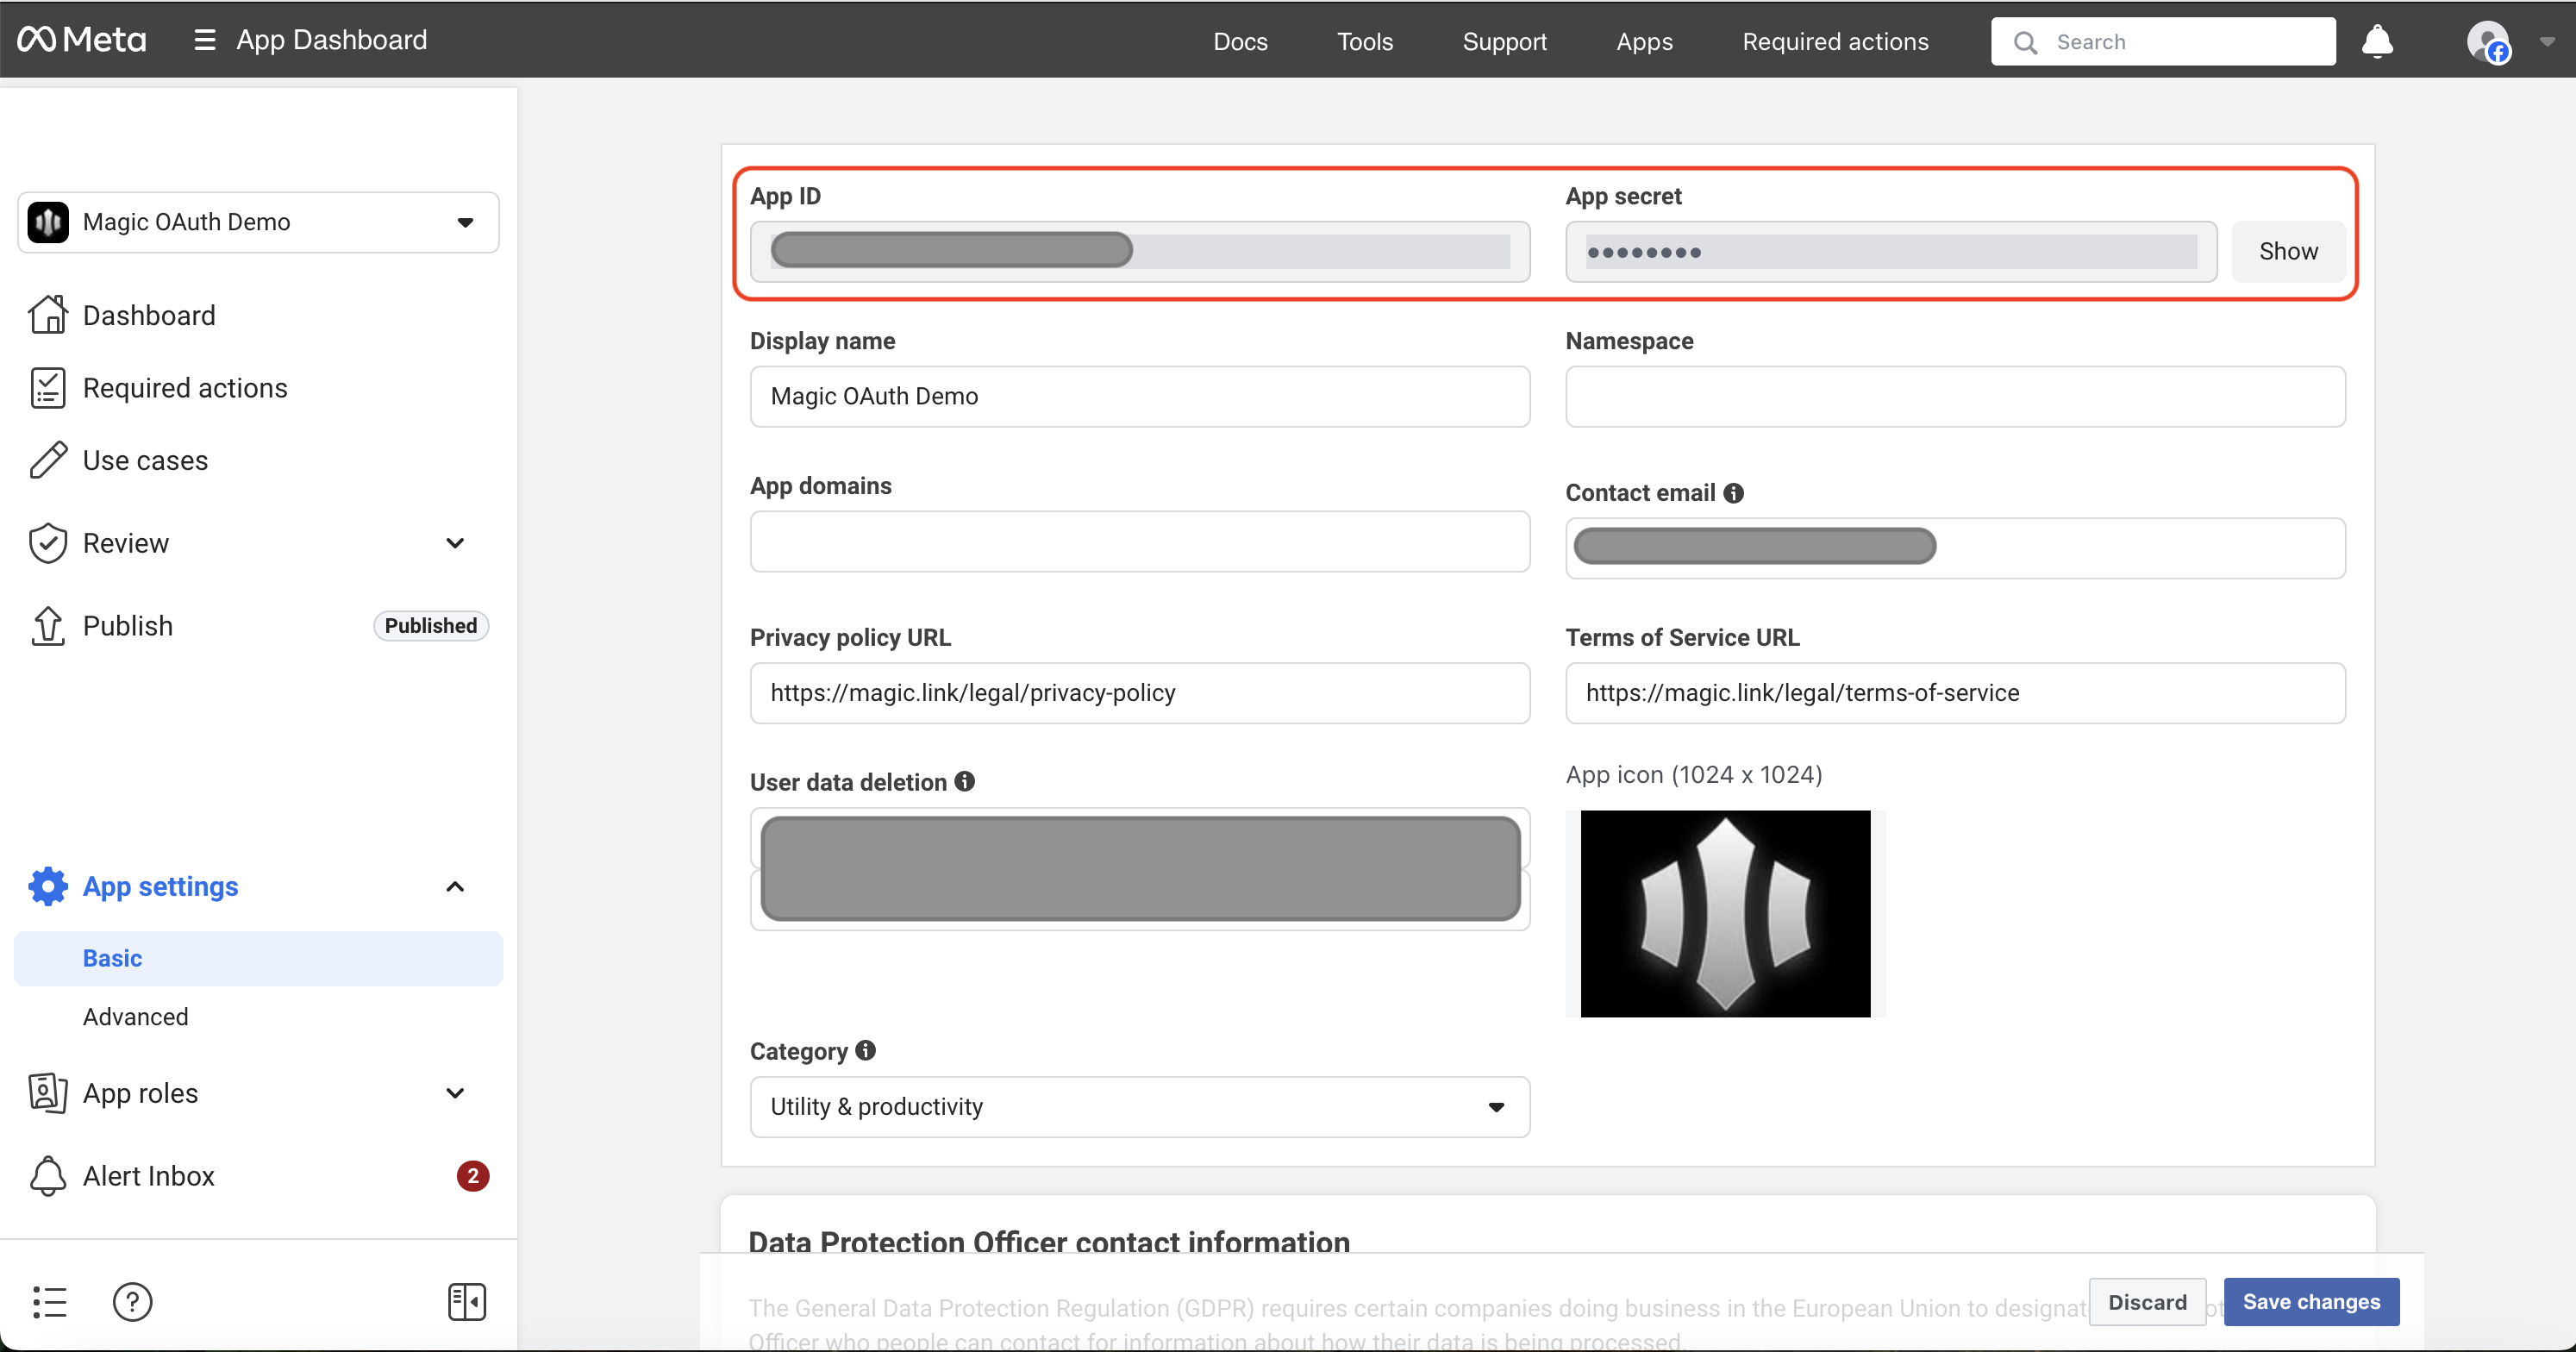
- From the main Facebook dashboard, click on App Settings -> Basic
- Copy the App Id and App Secret
- Go to your Magic Dashboard
- Select the Magic app for which you’d like to enable Facebook Login, or create a new app
- Navigate to Social Login from the sidebar
- Click the toggle for Facebook
- Input the App Id and App Secret from your Facebook app
- In Magic Dashboard, click Save