Overview
Custom Email Provider is a premium feature that allows developers to configure the sender of login emails by routing emails through their own SMTP servers. Emails sent from our servers come from the default[email protected].
Enabling a custom SMTP gives you full control over where your application’s login emails are sent from, as well as the name of the sender. Custom email providers are configured at the application level by visiting the Settings section of the Dashboard.
Configuration
Once Custom Email Provider has been unlocked for your workspace, you can configure your own custom SMTP server.Currently, only the Microsoft provider is supported for OAuth authentication.
Basic Auth
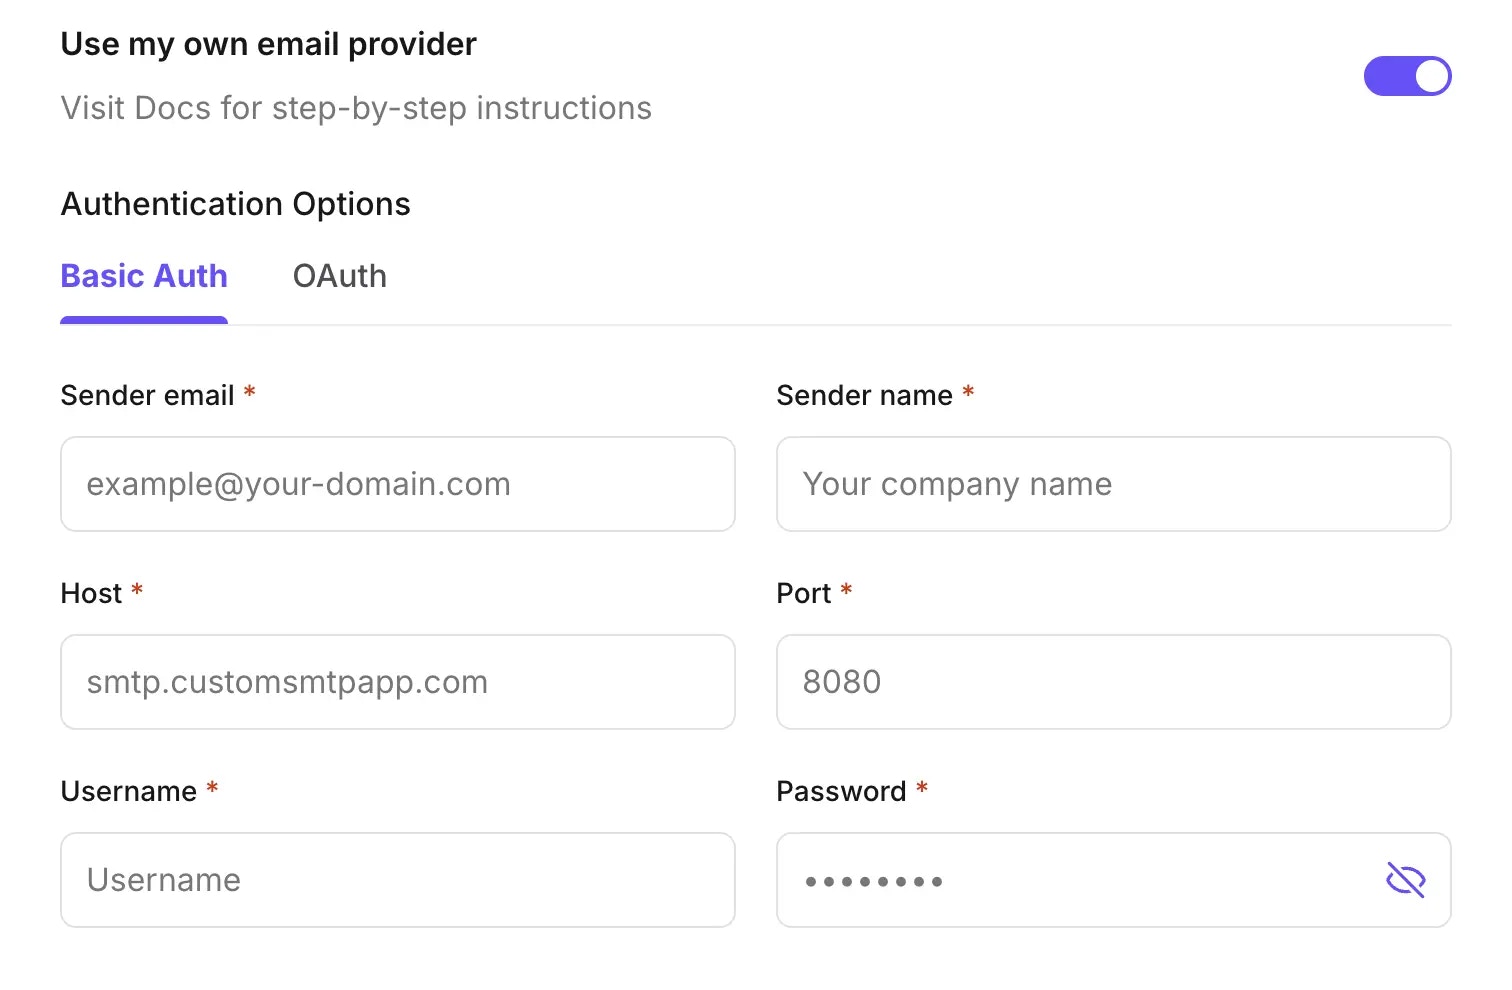
- Sender email: The email address your app’s login emails will be sent from. E.g.
[email protected]- Note: Do not to use your dashboard user account email as the
Sender Email, or try to login with theSender Email
- Note: Do not to use your dashboard user account email as the
- Sender name (optional): The name that appears on the subject line of the login email. Defaults to sender email address if not provided.
- Host: Hostname for your SMTP server. E.g.
smtp.postmarkapp.com - Port: Port of your SMTP server
- Username, Password: Credentials to authenticate into your SMTP server
OAuth
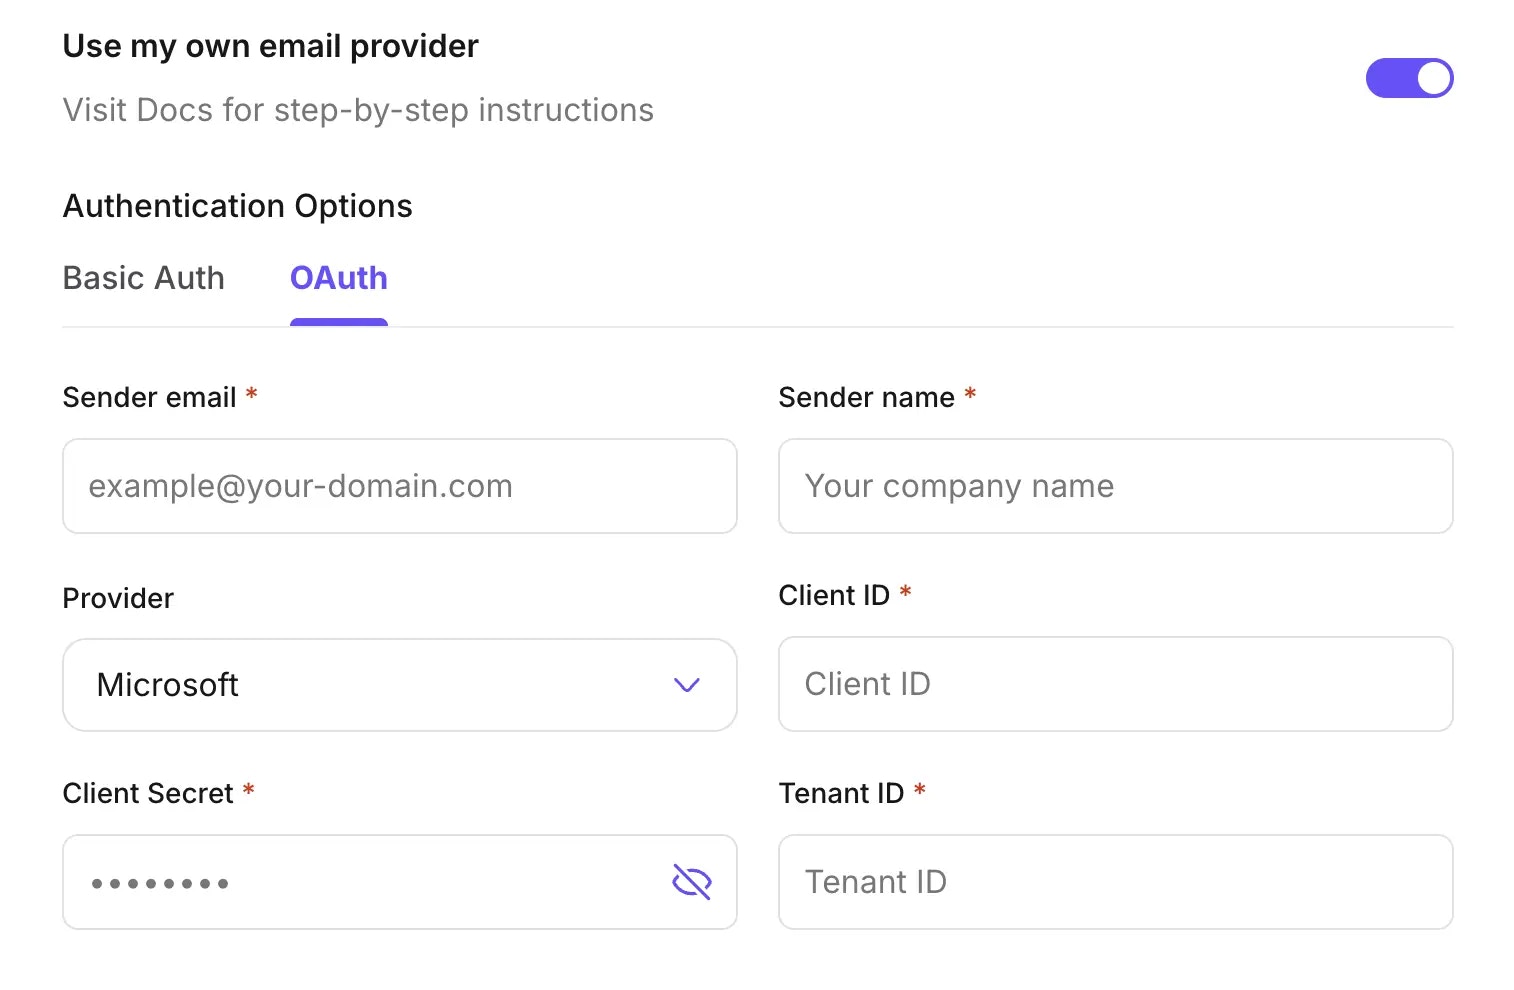
- Sender email: The email address your app’s login emails will be sent from. E.g.
[email protected]- Note: Do not to use your dashboard user account email as the
Sender Email, or try to login with theSender Email
- Note: Do not to use your dashboard user account email as the
- Sender name (optional): The name that appears on the subject line of the login email. Defaults to sender email address if not provided.
- Provider: OAuth Provider. E.g.
Microsoft - Client ID: The Client ID of your provider’s OAuth App
- Client Secret: The Client Secret of your provider’s OAuth App
- Tenant ID: Your Microsoft Tenant ID
- Note: This field is required because, currently, only the
Microsoftprovider is supported
- Note: This field is required because, currently, only the
How to Set Up the Microsoft OAuth Provider
You need an Office 365 subscription to use Microsoft SMTP Server.
-
Log in to the Microsoft Azure portal
- Use your organization credentials to access the Microsoft Azure registration portal. Refer to the official Microsoft documentation for more details.
-
Register a new application
- Provide an application name
- Select the supported account type
- Enter the redirect URL (optional)
- Click Register
- Copy the Client ID
-
Create a Client Secret
- In Microsoft Azure, go to Manage -> Certificates & secrets
- Click New client secret
- Provide a description and set an expiration period
- Select Add
- Copy the Secret value
-
Enable the
SMTP.SendAsApppermission- In Microsoft Azure, go to Manage -> API Permissions
- Select Add a permission
- Choose the APIs my organization uses tile
- Select Office 365 Exchange Online
- Choose Application permissions
- In the Select permissions field, search for SMTP.SendAsApp
- Check the box for SMTP.SendAsApp
- Click Add permissions
- Select Grant admin consent for
<your organization name>, then click Yes to confirm
-
Register service principals in Microsoft Exchange using PowerShell
- Run the following commands
For more information, see Authenticate SMTP connection using OAuthPowerShell- Register the service principal of a Microsoft Entra ID application by running the following command
Important: To obtain thePowerShellYOUR_APPLICATION_IDvalue, navigate to Overview -> Managed applications in local directory and copy the Object ID.