ZeroDev’s Account Abstraction tooling makes it possible to quickly spin up Smart Contract Accounts tied to your Magic wallet. The guide below walks through adding account abstraction to a simple Magic project using ZeroDev. We’ll leverage a project pointed at the Ethereum Sepolia test network, but you can use any network supported by both Magic and ZeroDev. The code snippets provided are based on a Next.js web app but can be modified to work with virtually any JavaScript framework. To learn more about ZeroDev, visit their documentation. Project prerequisites To follow along with this guide, you’ll need three things:Documentation Index
Fetch the complete documentation index at: https://docs.magic.link/llms.txt
Use this file to discover all available pages before exploring further.
- A Magic Publishable API Key
- A ZeroDev Project ID
- A web client
make-scoped-magic-app CLI tool to bootstrap a Next.js app with Magic authentication already baked into the client. You’re welcome to use your own client, but this tutorial and its accompanying code snippets assume the output of the make-scoped-magic-app CLI as the starting point.
The make-scoped-magic-app CLI tool is an easy way to bootstrap new projects with Magic. To get started, simply run the command below in the shell of your choice. Be sure to replace <YOUR_PUBLISHABLE_API_KEY> with the Publishable API Key from your Magic Dashboard.
.env as NEXT_PUBLIC_MAGIC_API_KEY and NEXT_PUBLIC_ZERODEV_SEPOLIA_PROJECT_ID, respectively.
Install additional project dependencies
In addition to the packages included in the scaffold produced by themake-scoped-magic-app CLI, you’ll need a number of packages related to ZeroDev and their account abstraction tools. You’ll also need to install viem for EVM-related types and transaction convenience methods.
Run the following command to install the required dependencies:
- NPM
- Yarn
Initialize ZeroDev smart contract accounts
To establish a connection between Magic and ZeroDev smart accounts, we create a ZeroDev kernel client. Kernel is ZeroDev’s ERC-4337-compatible smart contract account. It’s customizable, modular, and comes equipped with a number of plugin capabilities. We won’t go into the specifics of how it works, but feel free to look at the GitHub repo for more information. Inside ofsrc/components, create a directory named zeroDev. Inside that directory create a file named useZeroDevKernelClient.tsx.
This file will contain a hook that will surface the ZeroDev kernel client to the rest of the app. It’ll also observe when users log in or out and connect and disconnect to the corresponding smart contract account accordingly. We’ll go through each of these three separately, then show the code for the entire file.
Initialize useZeroDevKernelClient
When a user logs in with Magic, we need to associate their Magic account with a smart contract account through ZeroDev. Just as Magic handles the creation of user wallets, ZeroDev handles the creation of smart contract accounts associated with the wallet.
To initialize the kernel client, first we must declare the magic provider and pass it to the providerToSmartAccountSigner function provided by ZeroDev. This will associate the Magic account as the signer of the smart contract account.
Next, we create the kernel client by calling createEcdsaKernelAccountClient and passing the following values as arguments:
chain: The chain to point to. We’ll be using Sepolia.projectId: This comes from the ZeroDev project created earlier.signer: ThesmartAccountSignerwe create using the Magic provider andproviderToSmartAccountSignerfunction.paymaster?: Sponsoring gas paymaster. This is optional but allows you to pay transaction fees on behalf of your users.
JavaScript
Paymaster
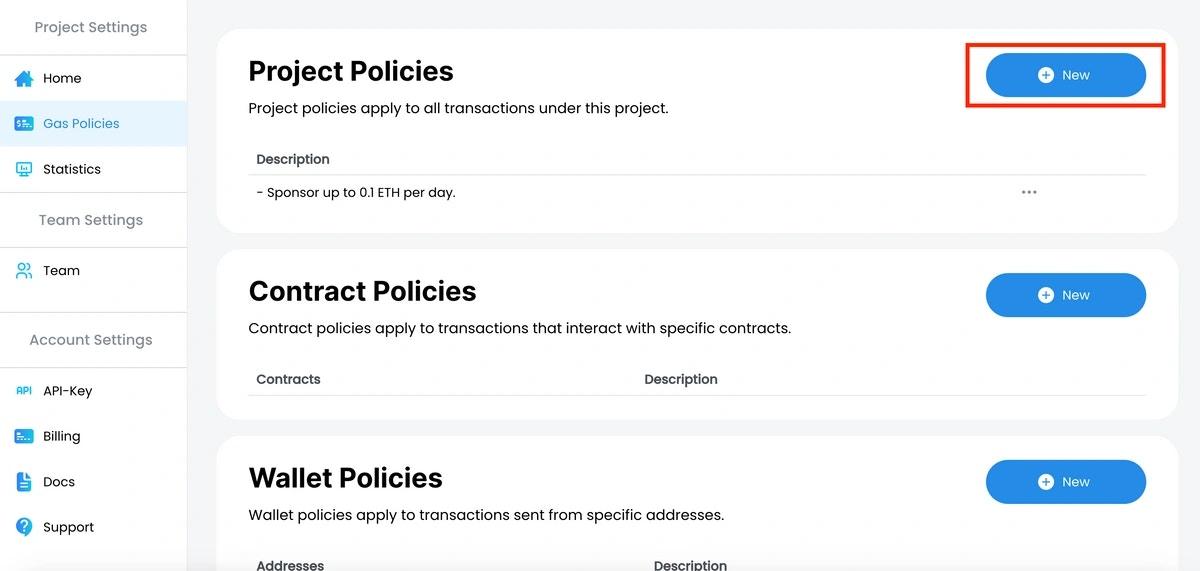
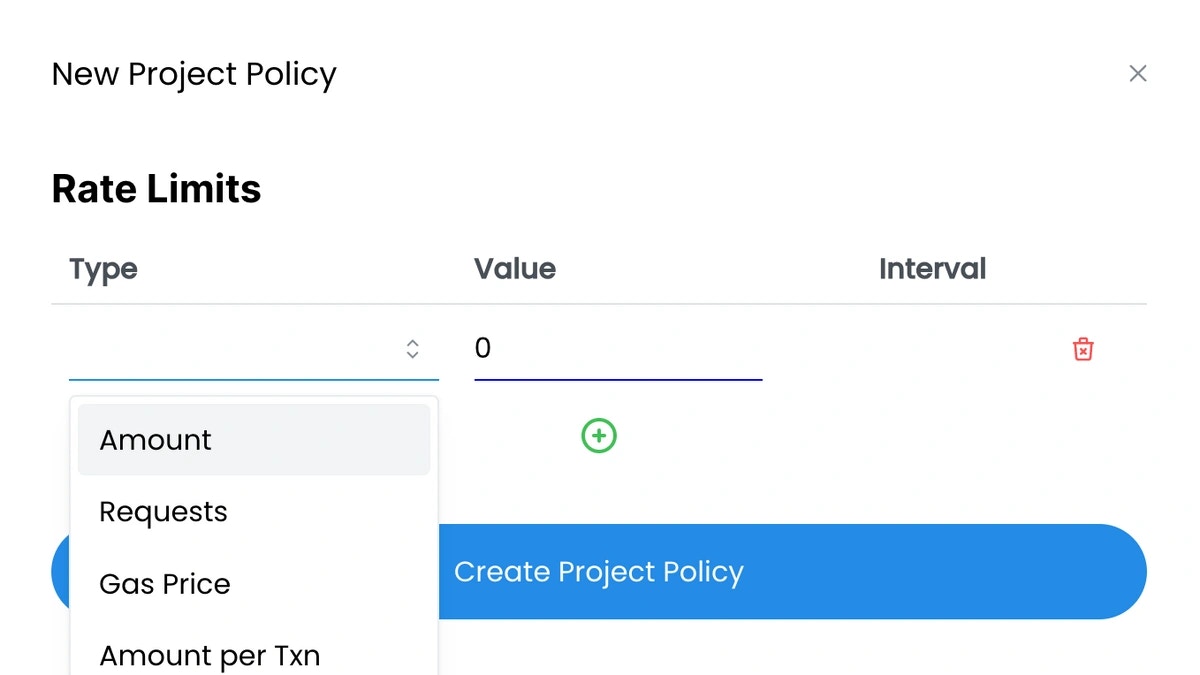
Account abstraction enables you to cover gas fees on behalf of users, eliminating the need for them to obtain native tokens to engage with your DApp. ZeroDev makes sponsoring gas straight-forward in a few steps.For this guide we are using testnet tokens. If you’re on planning on using mainnet you will need to make a payment for your gas policy to be applied.
Completed useZeroDevKernelClient code
TypeScript
Update UI Components
Now that the project successfully creates and connects to users’ smart contract accounts with ZeroDev, we can update the UI to show the smart account address, its balance, and enable sending transactions from the smart contract account. These changes take place in theUserInfoCard and the SendTransactionCard.
Update UserInfoCard
Update state items
First things first. Opensrc/components/magic/cards/UserInfoCard.tsx and make the following changes:
- Update the state declaration of
balance,setBalance, andpublicAddresstomagicBalance,setMagicBalance, andmagicAddress - Import our
useZeroDevKernelClienthook and call it to get access toscaAddress - Add a state declaration for
scaBalanceandsetScaBalanceto store the smart contract account balance.
TypeScript
Update getBalance
Next, update the getBalance function to set both balances:
TypeScript
Update balance display
Next, update the TSX for displaying the balance to show both balances:JSX
Update initial balances
The only remaining balance reference is to set the initial balance while loading to"...". This is in a short useEffect that calls setBalance. Update this useEffect to set both balances:
TypeScript
Update address display
Now find theCardLabel and div that displays the address and modify it to use the new naming for magicAddress and also display the scaAddress.
JSX
Update copy function
Lastly, update the copy function to reference magicAddress instead of publicAddress, otherwise you’ll get an error.
TypeScript
Update SendTransactionCard
To send a transaction from your smart contract account, you will need to initiate a transaction by calling the sendTransaction method on the ZeroDev kernelClient object. This transaction requires the following arguments:
target- The recipient’s wallet addressdata- Data associated with the transaction. Since we’re just transferring tokens, there is no data and you should put"0x"value- the amount of tokens to send inwei.
src/components/magic/cards/SendTransactionCard.tsx, import the the kernelClient from useZeroDevKernelClient hook and replace the code for sendTransaction with the code below.
To transfer funds from your smart contract account, ensure you have enough test tokens to send. You can get some test Sepolia tokens here.
TypeScript
value to 0 and send a transaction - you will notice that your ZeroDev account’s balance didn’t change at all.
Next Steps
You now know how to integrate Magic with a smart contract account and include the following features:- Simple authentication with Email OTP
- Automatic smart contract account creation for first-time users
- Ability to have Magic users interact with their smart contract accounts
- Transfer funds from your smart contract account